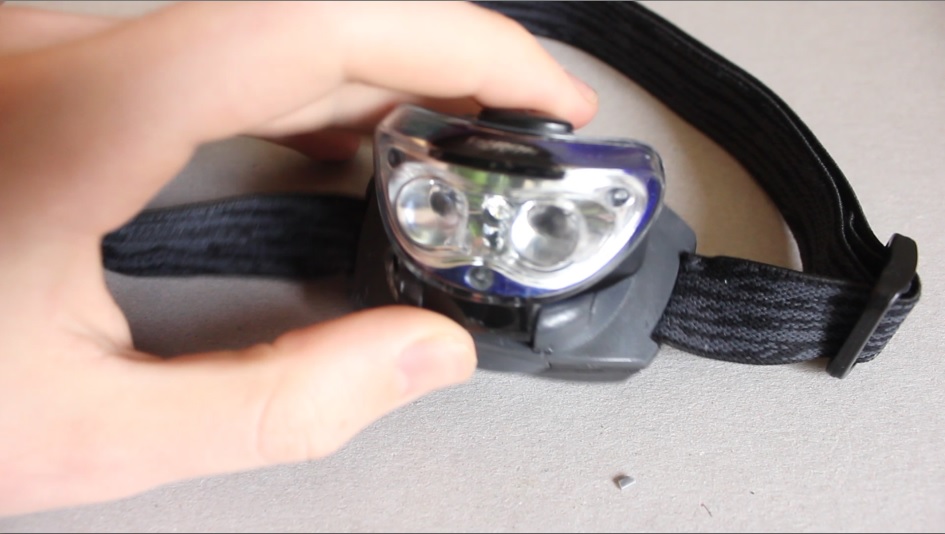
I couldn't afford a GoPro Head Mount so I did the next best thing and made my own. I had an old head torch around and so used that along with a GoPro flat adhesive mount, a J-hook and of course, the GoPro. I found after this product was made that you probably want an extra strap from forehead to the back of the head, this is for extra stability and comfort as the GoPro is quite heavy. When making this Head Mount you want to make sure you take care as you will be using a Stanley knife which could slip. You want to be doing this on a damageable surface such as a cutting board because there is the possibility you may cut or scratch the underneath.
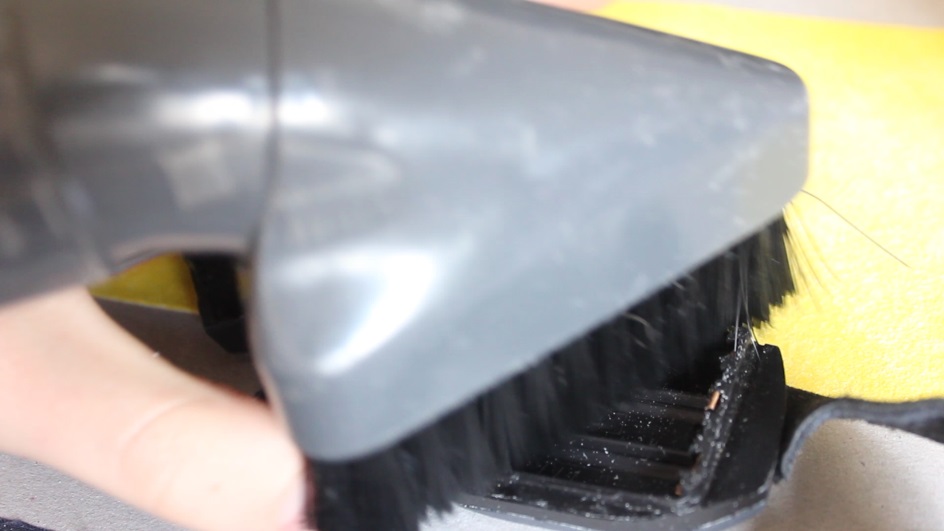
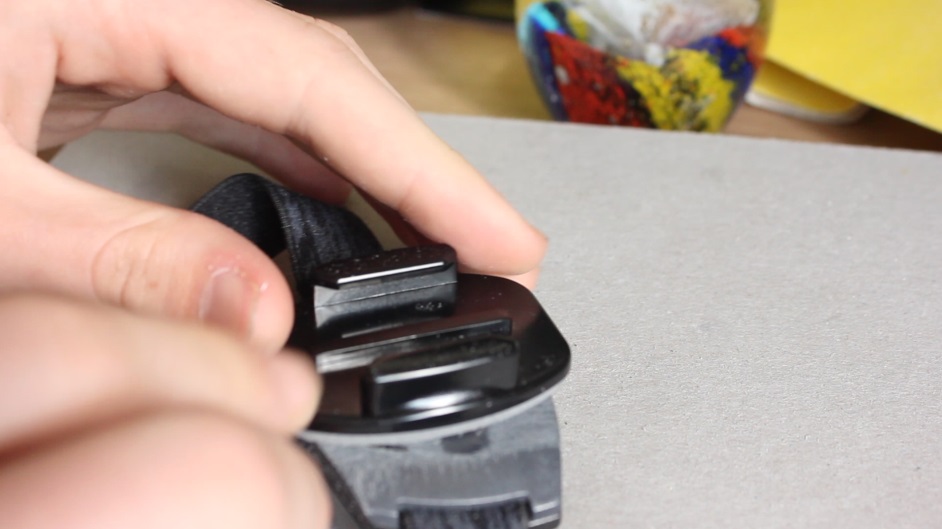
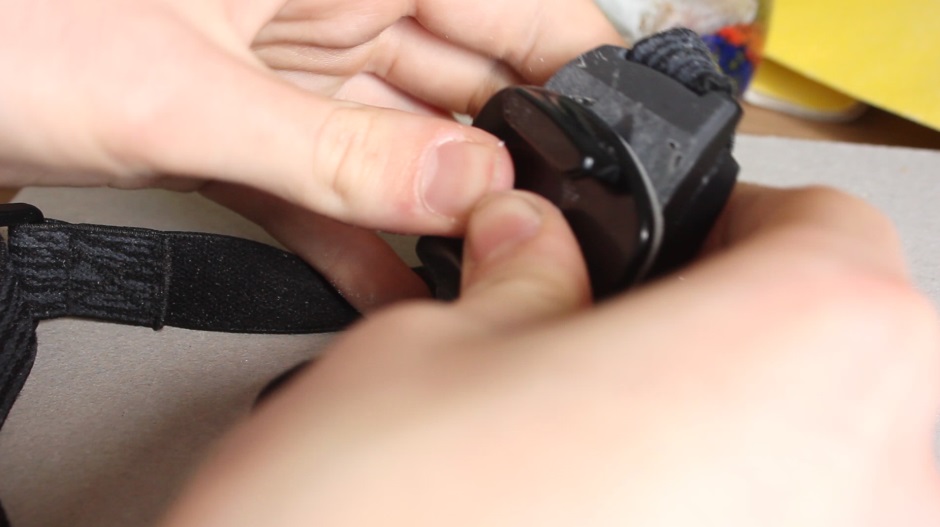
Below you can see a selection of photos of the final DIY GoPro Head Mount.
Below you can see a selection of photos of the final DIY GoPro Head Mount.
How To Make it...
1. Get Yourself an old or cheap LED Head Torch
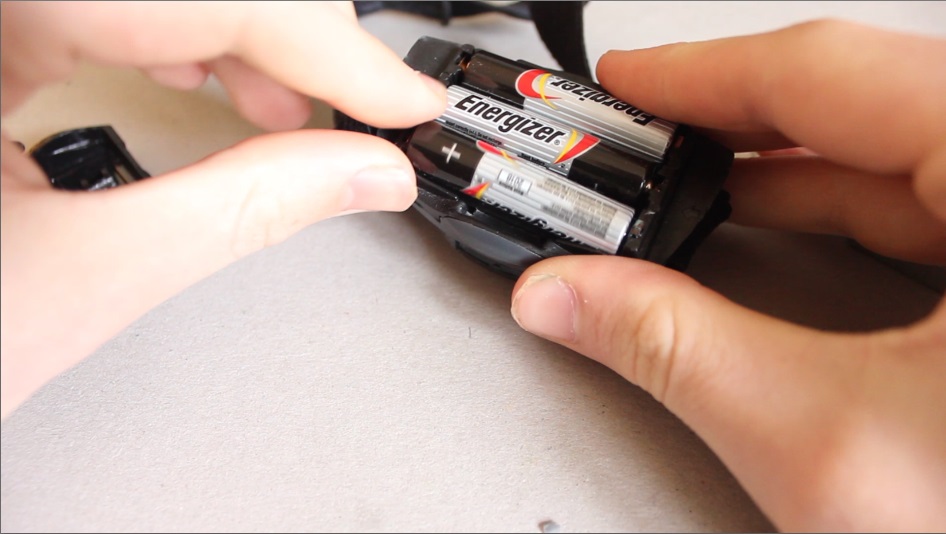
2. Remove the Batteries
| 
|
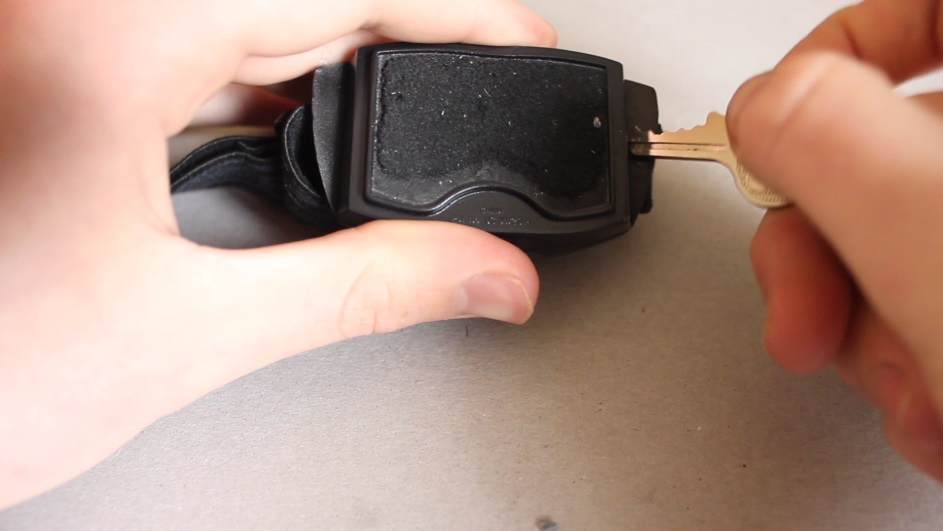
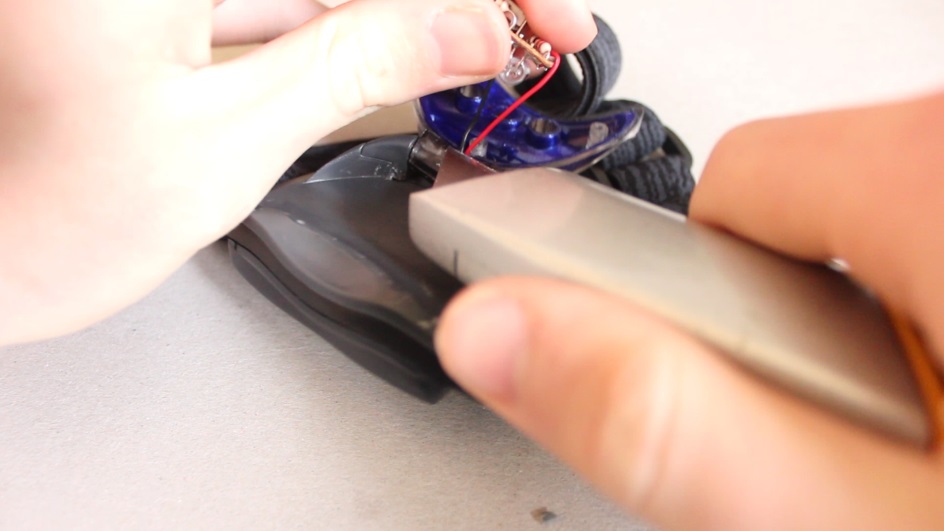
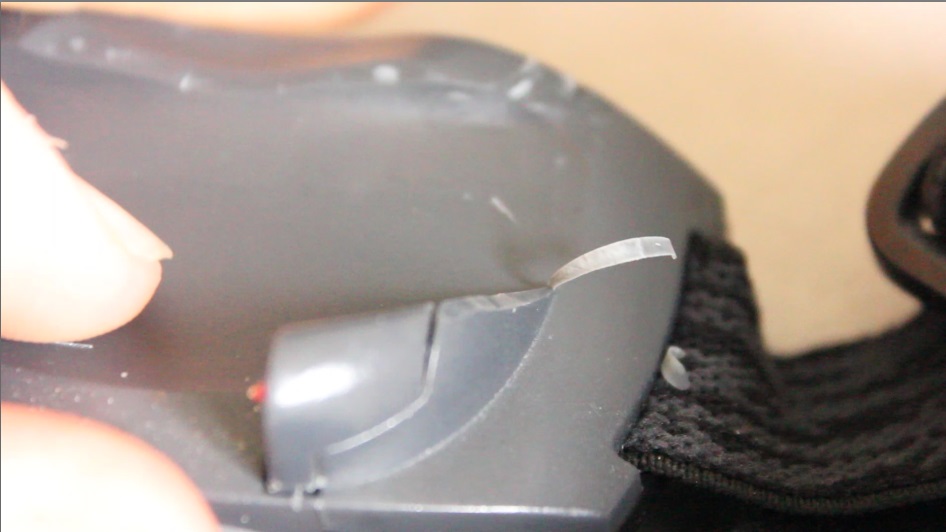
3. Remove the screws in the torch section
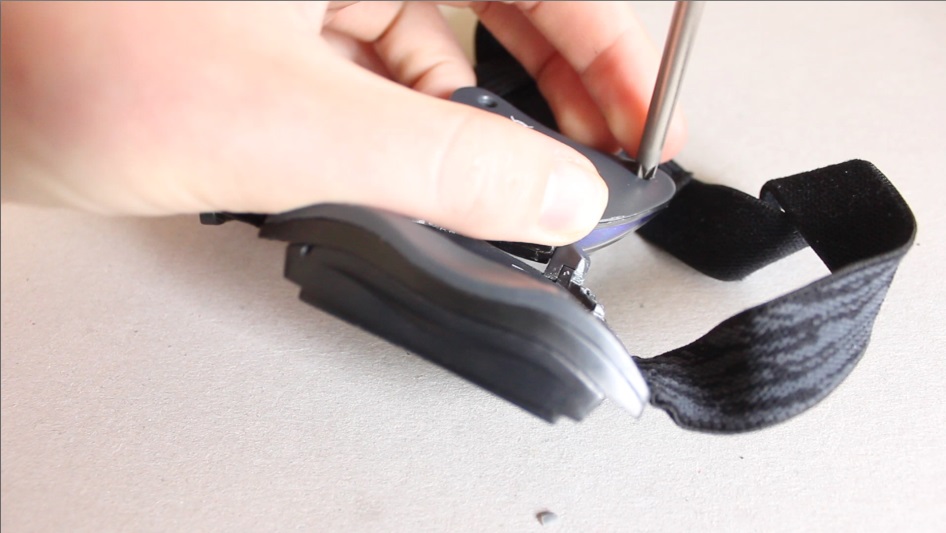
4. Take off the plastic casing

5. Cut out the electronics
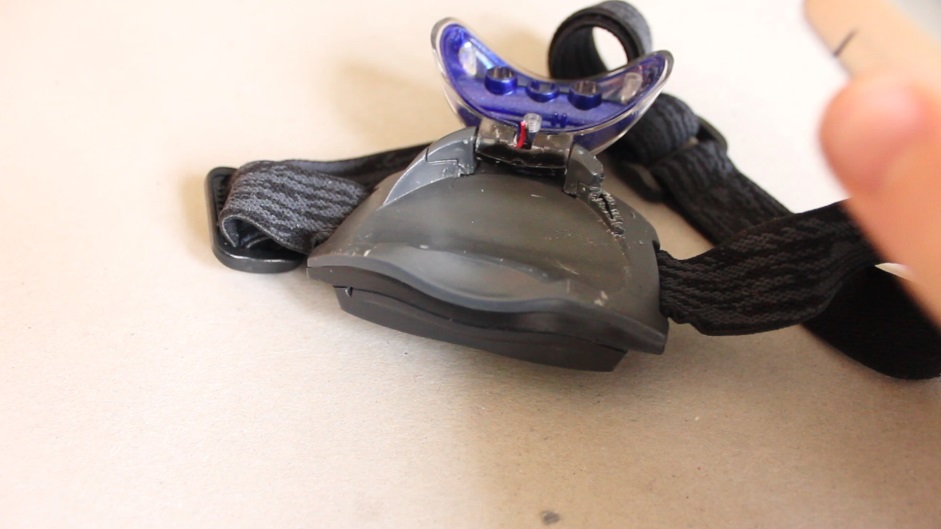
6. Snap off the LED Torch section
| 
|
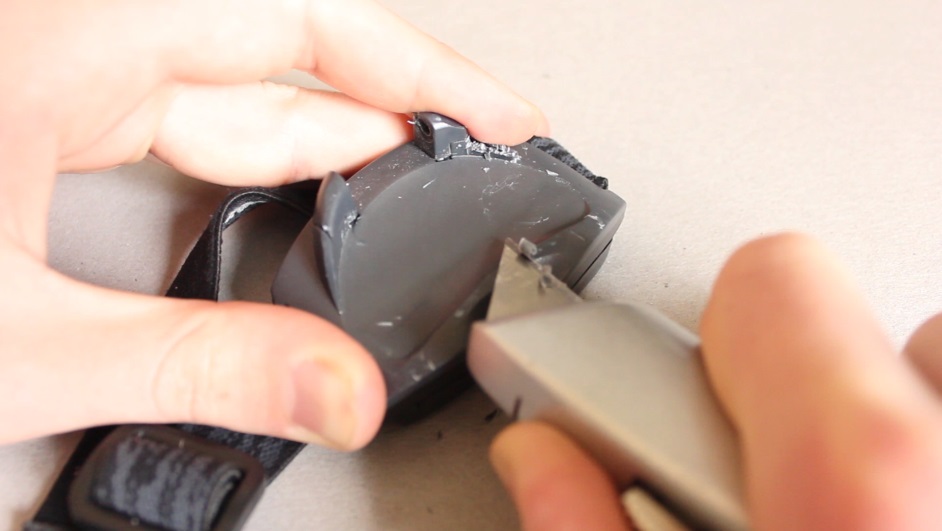
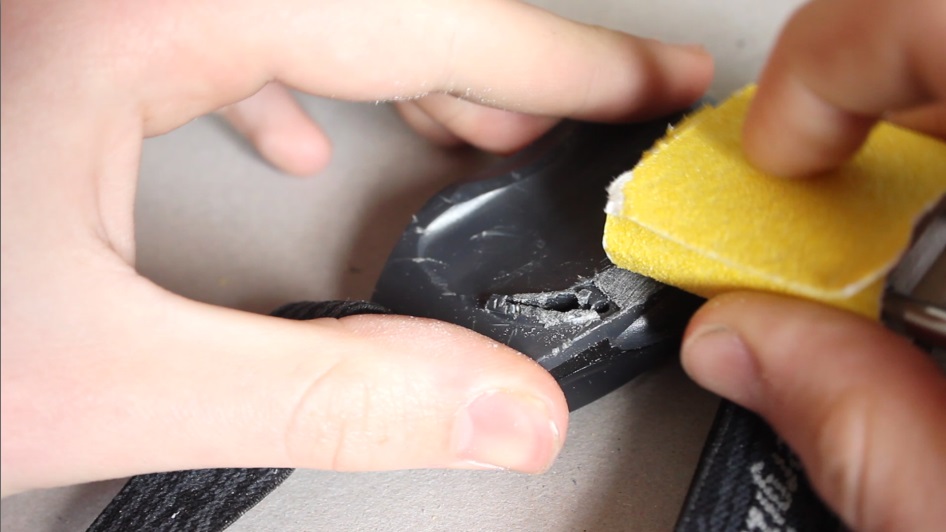
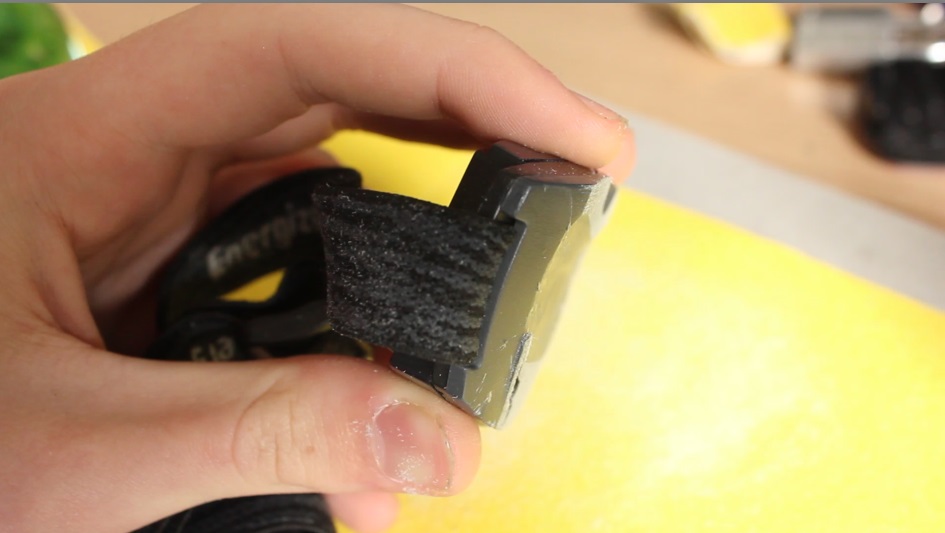
7. Slowly and Carefully carve away at the plastic
You want to try and get the 'platform' completely flat. Therefore the large sections need to be cut out, this is easily done by using a Stanley knife but take care and if young make sure you have adult supervision or help.
| 
|
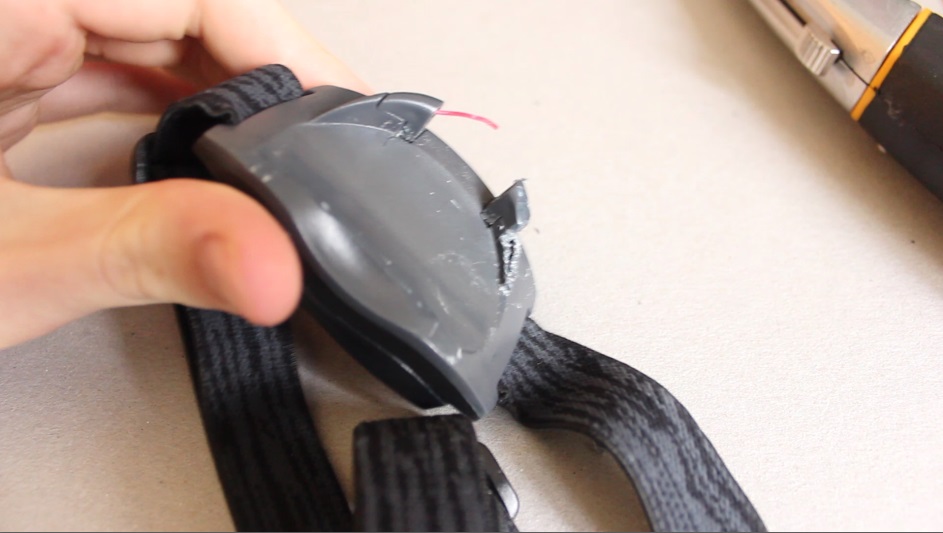
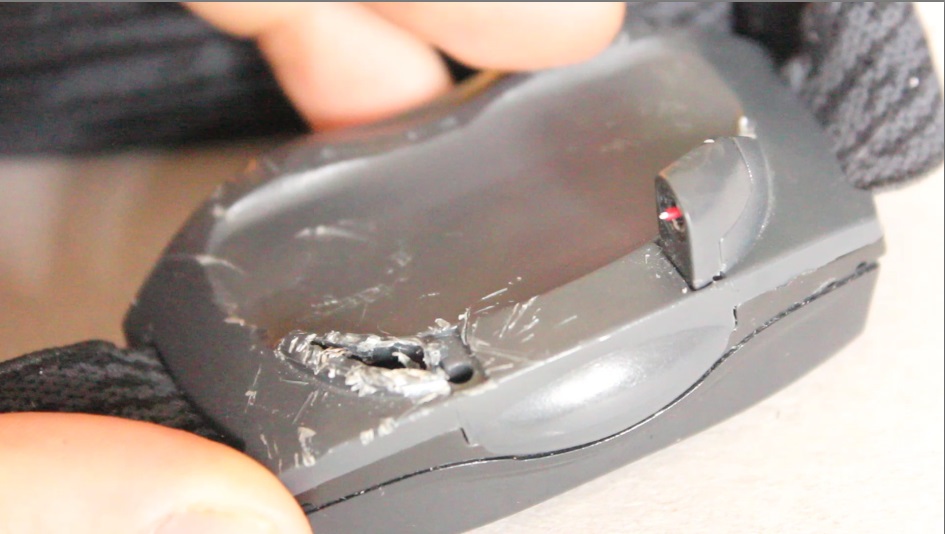
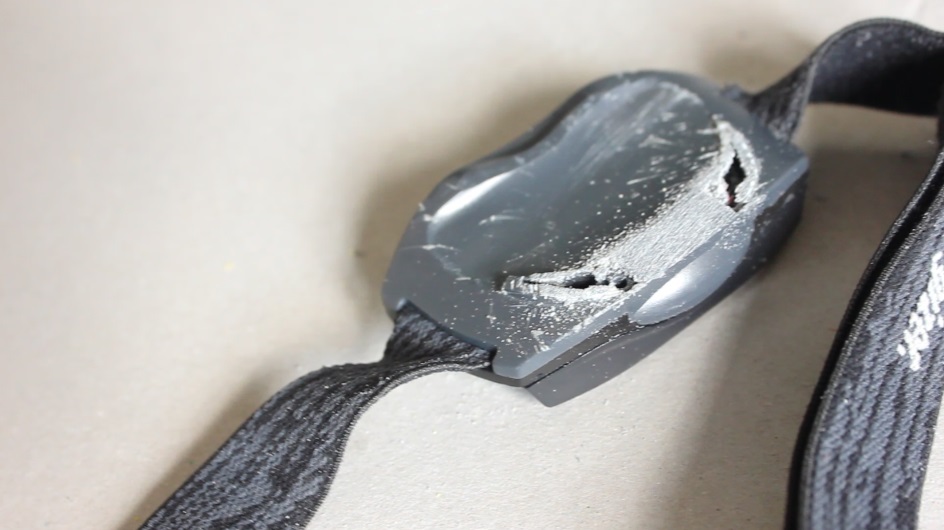
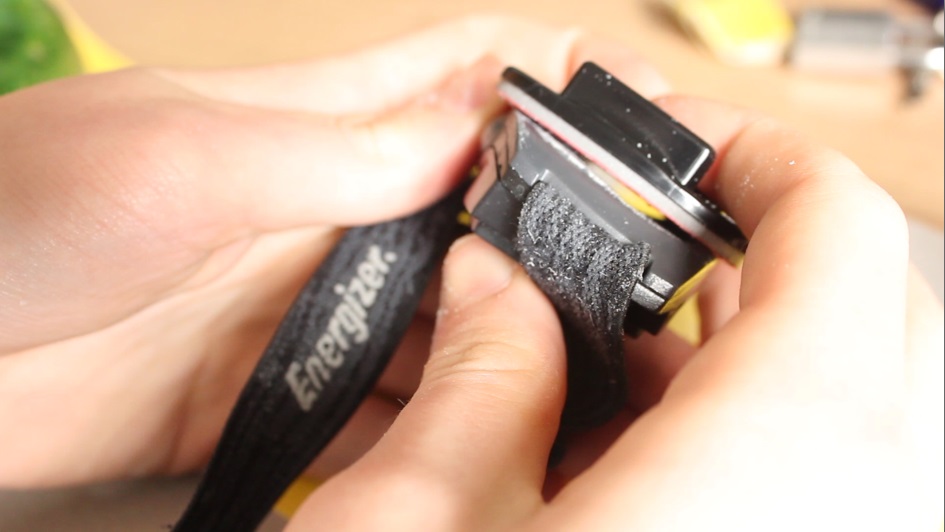
8. Stop on one side when it looks like this
Don't worry if it looks messy and scratched, we'll sort that out later.
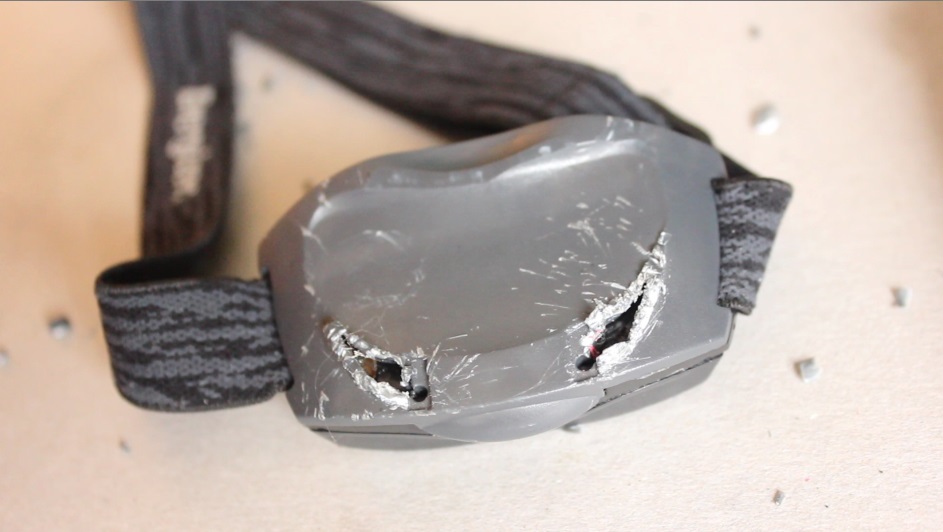
9. Do the same to the other side
Now time to clean it up using sanding... there are two ways
10. (1) Use a piece of sand paper wrapped around a block
11. Carry on sanding and it will reduce sharpness
You are trying to get a completely flat surface so it will take a lot of sanding to achieve this, don't worry of it looks like there is even more scratches - it is now smooth scratches... if that makes sense
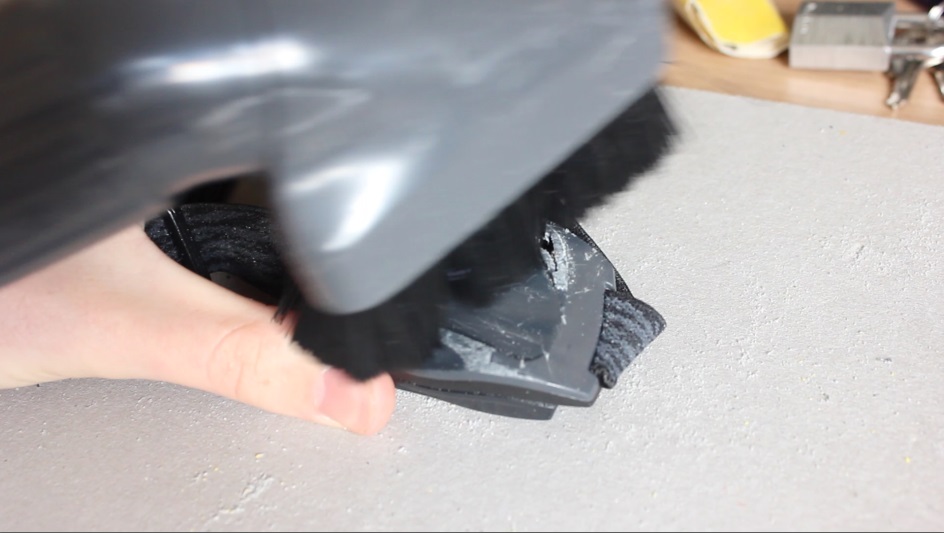
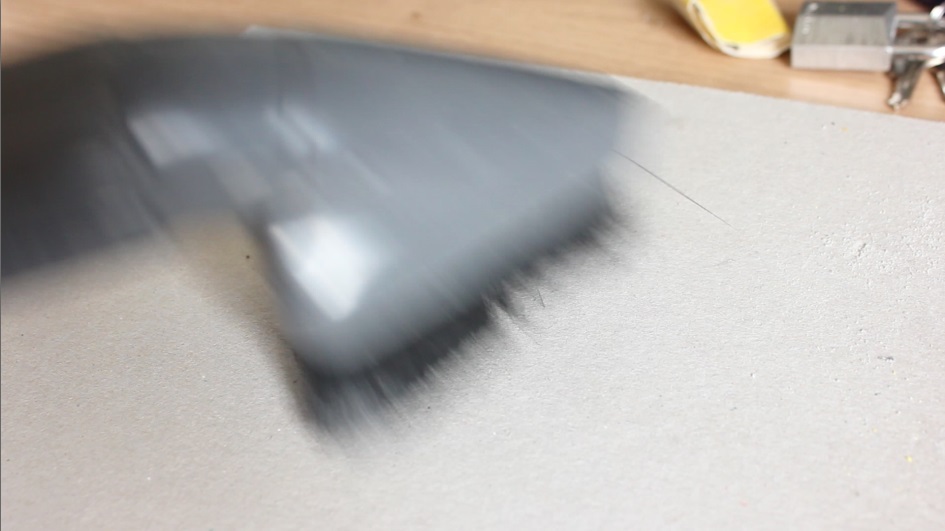
12. Hoover every so often to remove dust particles
Because you're sanding, a lot of dust / powder will be produced therefore be situated in a well ventilated room and hoover now and again to remove these particles. You want to hoover the head mount directly and also the board underneath.
| 
|
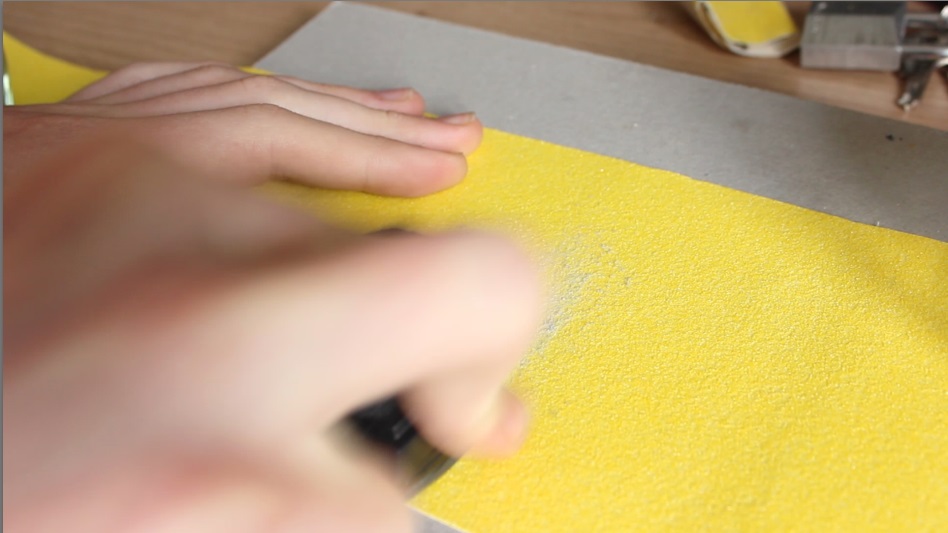
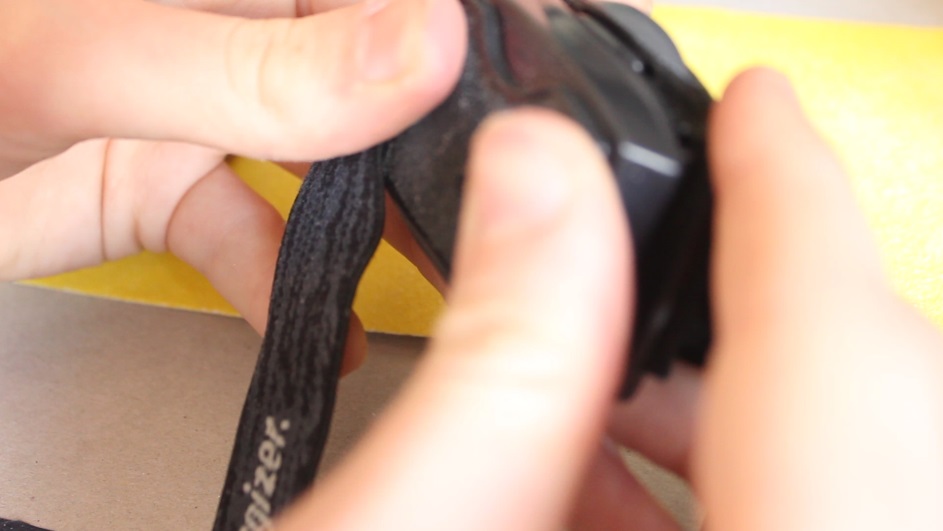
13. (2) Reverse the process
Your second option is to rub the head mount against sand paper, I personally find this method quicker and easier. However you need to make sure that you wrap the elasticated band around your hand and wrist so you don't shred it and render the head mount useless. If you rub the mount in a circular motion it seems to work better and also remember to move onto a fresh piece of sand paper once the current area is worn out.
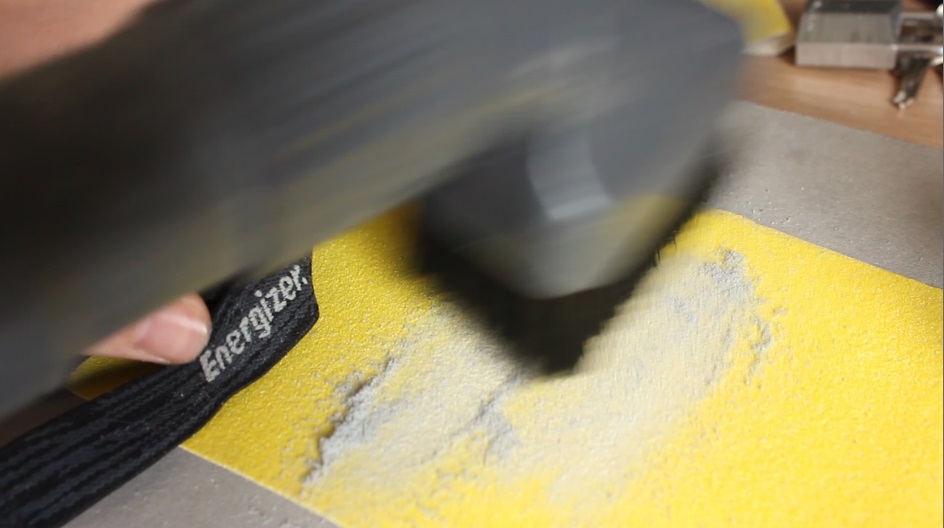
14. Once again Hoover
The only difference is this time you have to hoover both the sand paper and the head mount.
| 
|
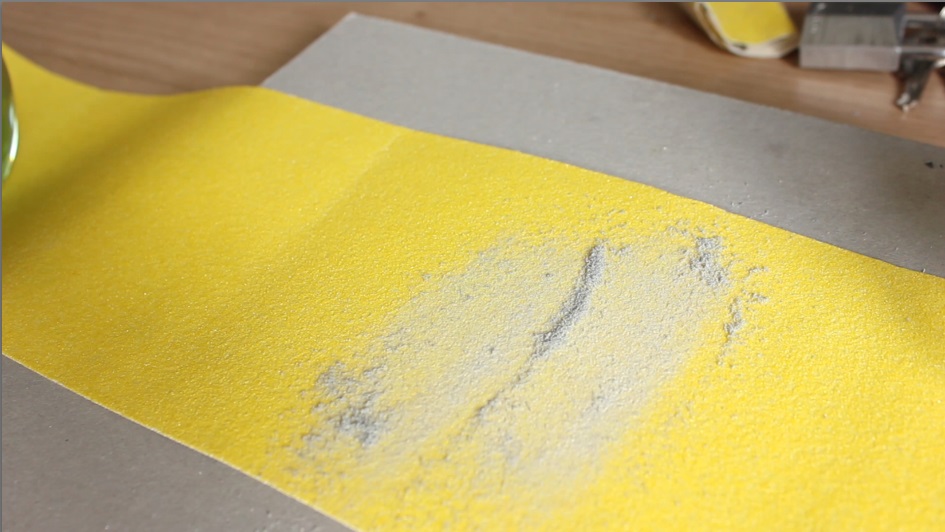
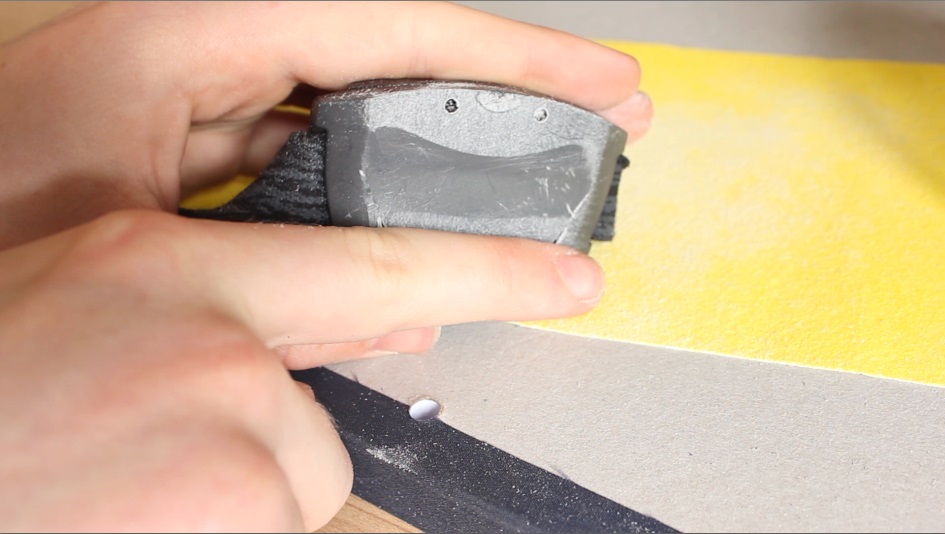
15. Aim for a complete or nearly complete flat surface (Not flat yet)
As you can tell from the two images below this surface has a lot of sanding to go, to check how close you are to a flat surface add the flat adhesive mount and see if you can see a gap. In the second picture it is quite obvious there is a gap... so more sanding
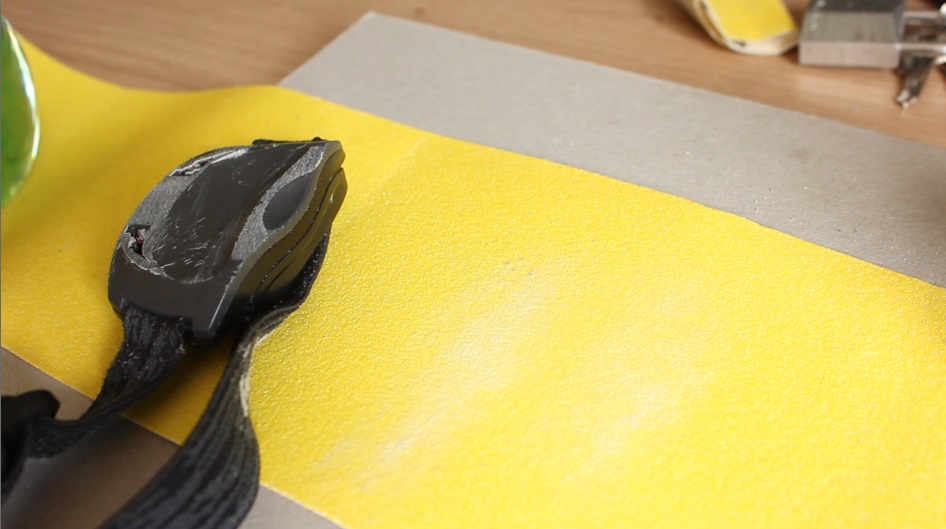
16. Another way to tell when flat
You can tell when flat as the dark grey surface will become a light grey, slightly scratched surface.
17. Problems...
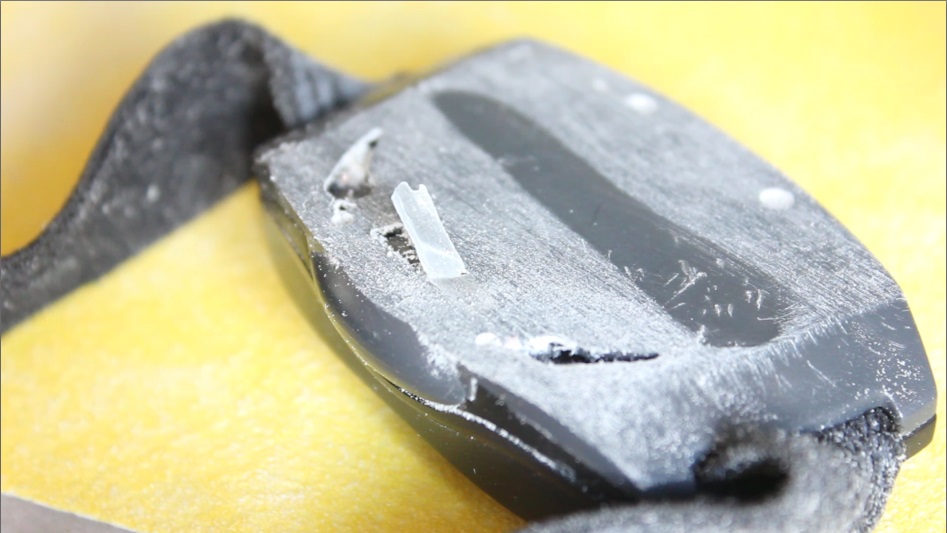
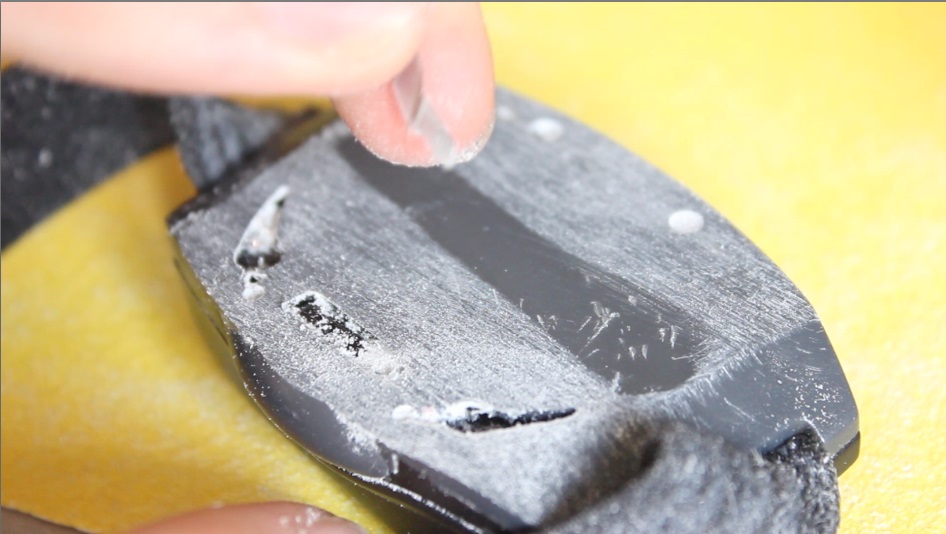
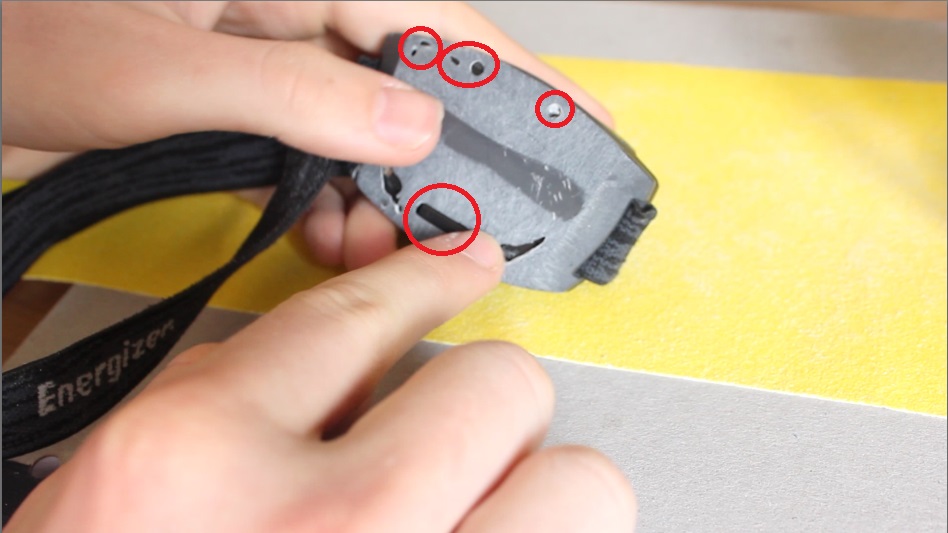
When coming close to the 'end' of the plastic - wearing thin - then you may start to notice gaps appearing on the surface. In the first two pictures below you can see a small rectangular piece that was thinner than the rest of the surface, just carefully pick it off because otherwise it will make an un-smooth surface.
In the third picture I have circled in red possible problems... when you start to get a lot like this it is time to stop sanding and wearing away the surface as you will eventually render the head mount useless. As you can probably tell its not completely flat yet but that small area in the middle shouldn't be a problem.
In the third picture I have circled in red possible problems... when you start to get a lot like this it is time to stop sanding and wearing away the surface as you will eventually render the head mount useless. As you can probably tell its not completely flat yet but that small area in the middle shouldn't be a problem.
| 
|
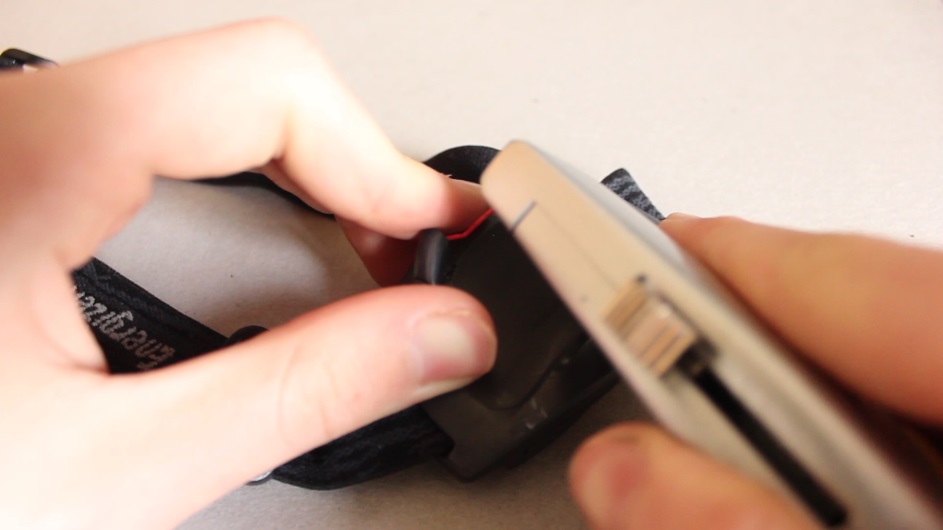
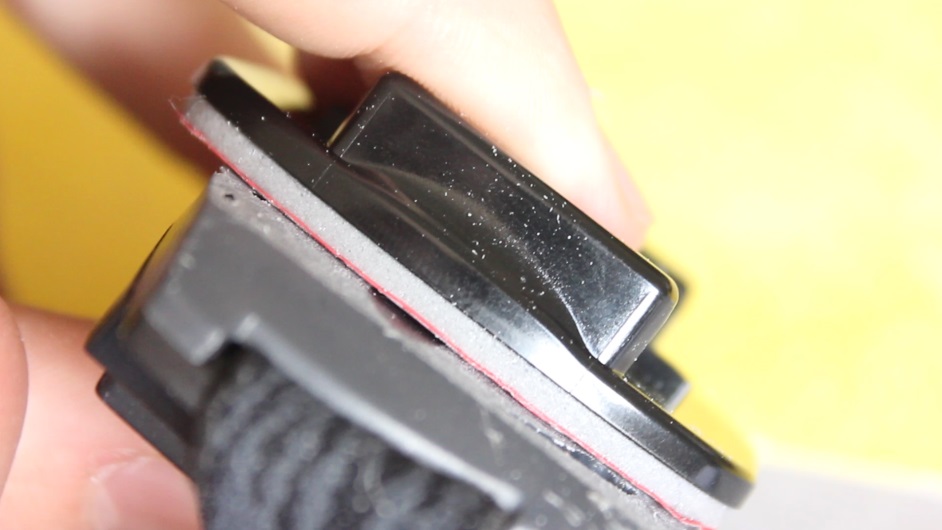
18. Check flatness with the GoPro Mount
That tiny non-flat gap is nothing to worry about... as long as the large majority is the same level and there is nothing protruding only caving
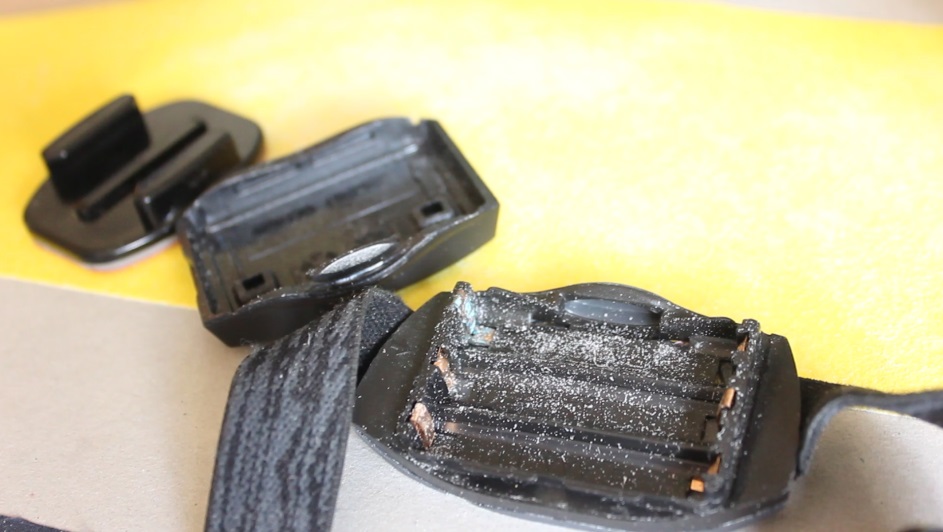
19. Clean out Battery area
During sanding some particles may have made it into the battery chamber, carefully open up this area and hoover it up. You then need to push the battery lid back into position but be careful when doing so as the casing/structure is weaker now after sanding.
| 
|
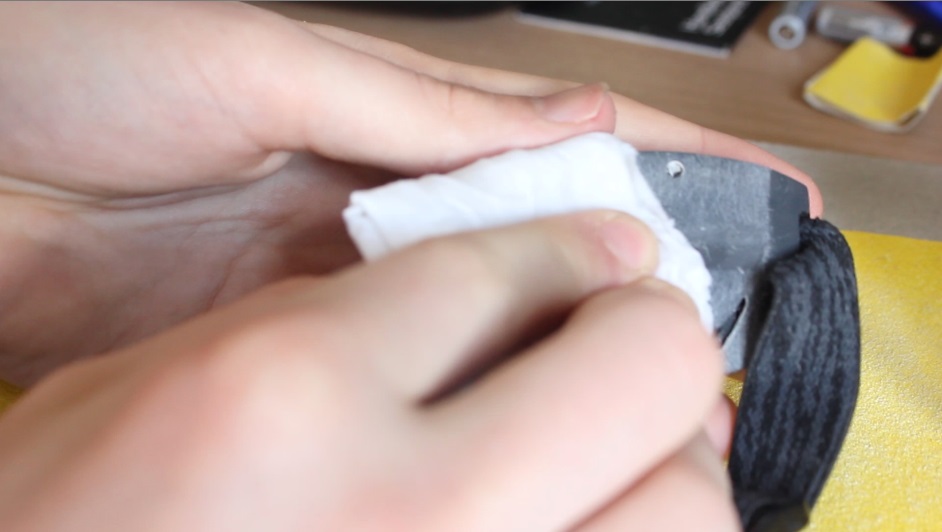
20. Before mounting, clean
It's important to have a clean surface before mounting the adhesive mount, use a wet cloth to wipe over the surface. Toilet paper is not a good idea as it will disintegrate with water and will cause a bigger problem to clean up. GoPro's official website states:
"Apply the mount to a smooth, and fully cleaned surface. A textured surface or any imperfections to a smooth surface can keep the adhesive from making a strong bond."
21. Take the protective cover off the mount
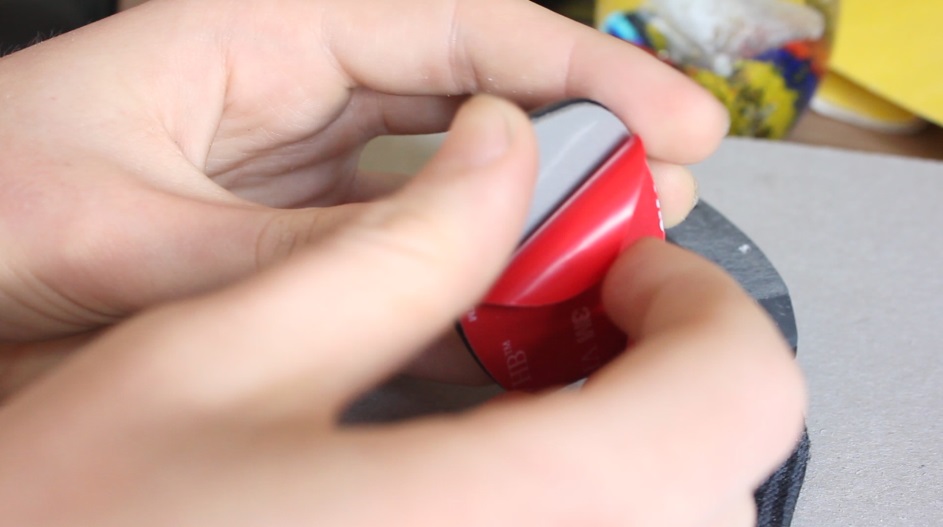
22. Mark out exactly where you want it then STICK
It's really important you get this right the first time round as there are no second chances unless you have dosh to splash. Mark out on the head mount some lines that are completely vertical (or would be when attached to your head) - basically make sure the mount is completely straight when stuck - otherwise you way get a slightly off movie (i.e. not straight/wonky)
23. Once straight, push down to finalise
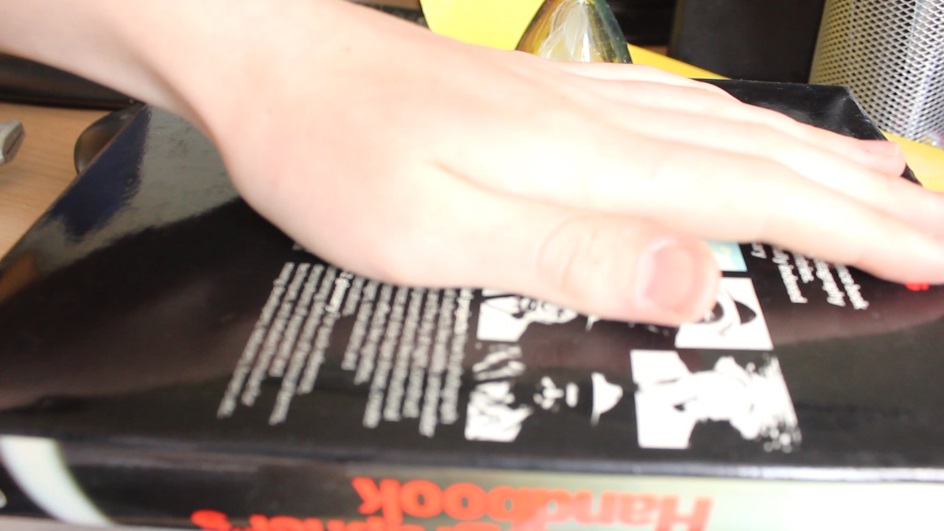
24. Leave for 24Hrs with a heavy book on top
Leave for 24Hrs to get the most complete/ strongest bond with the head mount and adhesive mount. After 24Hrs its free to be used as you wish.
25. Conclusion and further changes...
What I did -
What you could do -
- Added an extra strap (String) from battery compartment to back of head strap for stability as GoPro was heavy and pulled downwards leading to discomfort. This string sorted that issue but otherwise just buy a head mount with an extra strap already attached.
- My padding at the front was worn out so I made a small 'cushion' to put in-between the back of the head mount and my forehead - this improved the comfort considerably.
- Added some dead batteries back into the battery compartment as it helped even out the weight just a little bit.
What you could do -
- Spray the head mount black before putting on the adhesive mount, this will lead to a more professional looking product.
 RSS Feed
